As we all know AutoCAD is a drawing software that is essential for project planning in various industries like Infrastructure, Energy & Power, Automobile sectors. The uses of Software are so vast that It plays an important role in the career building of Engineering students. For the development of our civilization, it is necessary to plan everything before building it. Drafting is an essential part of the planning process. First, we add up the things on paper by drawing methods then we paste the whole plan to the ground. A drawing gives us ideas about the future necessity of the projects like land to be occupied, positioning of elements, the estimated cost of the project etc.
In any project, we always need a clear idea of dimensions and premises to predict the area/space to be occupied for the whole project. Different sectors require different scales. For example, if we work on a project related to highway construction then we have to work in Kilometers (thousands of meters), which is a great scale of work. If we draw a model of any car, bus or any other vehicle then we need space only in some Meters. Again in the Power sector, we will need a larger space for electric cable profiles.
From the above point of view, we don’t need to worry in case of smaller drawings of cars, buses or any other vehicles but In case of Highways, Bridges, Electric cables layout, water pipelines, Meter by Meter drafting will become laborious and time-consuming. Keeping this problem in mind, We need a method which can Restrict the Premises of our project so that we can work easily within a boundary. Thankfully AutoCAD contains a feature in its Magic Box.
Today I am going to tell you about this “How to set limits in Autocad” feature.
[Step-By-Step Guide] How to Set Limits in AutoCAD
Step 1
Type “LIMITS” in the command line of your AutoCAD.

Step 2
Press the “Enter” or “Space” button.
It will ask to specify points at the lower-left corner. This will be the origin of your boundary/premise limits.
Step 3
All you need to do is to type 0, 0 and press the “Enter” button.

Note: Here First 0 shows the X direction and the second 0 shows the Y direction.
Again It will ask to specify points at the upper right corner. This will be the End of your boundary/premise limits.
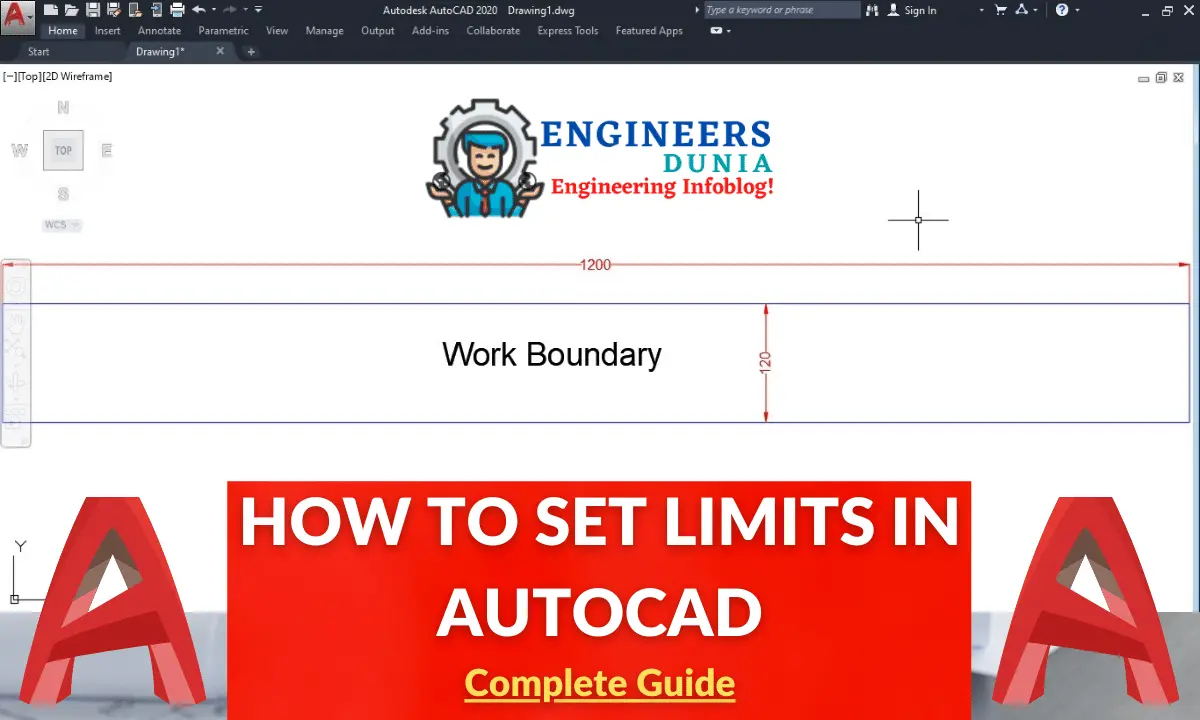
Here I will take an example of a 1000 M. long and 100 M. wide highway. Always take values more than your desired dimensions. Let’s say 1200 M. in the X direction and 120 M. in the Y direction.
Step 4
Type 1200, 120 and press the “Enter” button.

Step 5
Now Press the Z button and hit “Enter”. This is the zoom command.

Step 6
Now Press the E button and hit “Enter”. This is the extent command.

Step 7
Now type REC in the command line to create a rectangle and press Enter.

Step 8
It will ask to Specify the first corner point which is the point of origin. Type 0, 0 and press Enter.

Step 9
Now It will ask to Specify the second corner point which is the point of the ending boundary. Type 1000, 200 and press Enter.

Final Result
Now you are all set up. Your Boundary is created by setting the limits and you can draw within these limits easily.

FAQs
What is the default limit set to in AutoCAD?
There is no limit set by default in AutoCAD.
What is drawing limits in AutoCAD?
You can set a limit as per your drawing requirements. Because there is no limit set by default in AutoCAD.


I had problem with drawing limit making page thank you so much for sample explanation with details. now my problem solved.